Saturday, December 25, 2010

Merry Christmas!!!

To my Dear Stampers,

Stampers like you are the heart of my Stampin' Up! business! 
Thank you so much for supporting me throughout the past year!
It has been a real pleasure stamping with you this year.
Wishing you and your family a very Merry Christmas
and a healthy, happy and successfull New Year!

Stampingly yours,
Maria

Here are some hand-stamped cards I received in the mail this year.  This card I received from an upline for recruiting two demonstrators in October. I am so glad and excited to have Tina and Paige on my team!  Candy Cane Christmas Designer Fabric is used like a piece of ribbon around the card.


Merry Christmas Circles was stamped by Frances and her daughter Elizabeth from Virginia. 


I received this card from my upline and friend, Sharon.  The glitter is applied to the Big Shot Multipurpose Adhesive Sheets.  Scenic Season and Welcome Christmas stamp sets were used.


Sending Three Wise Men cards for Christmas is tradition.  I received this card from Kim.  Come to Bethlehem stamp set.

Here's the inside of Kim's card...


Good ol' Button Bear from my cousin, Sheila.  Gotta love Button Bear!


Here's another Three Wise Men card from my Mom.


This card is from the Kanich family.


Christ is Born is from Florence. 


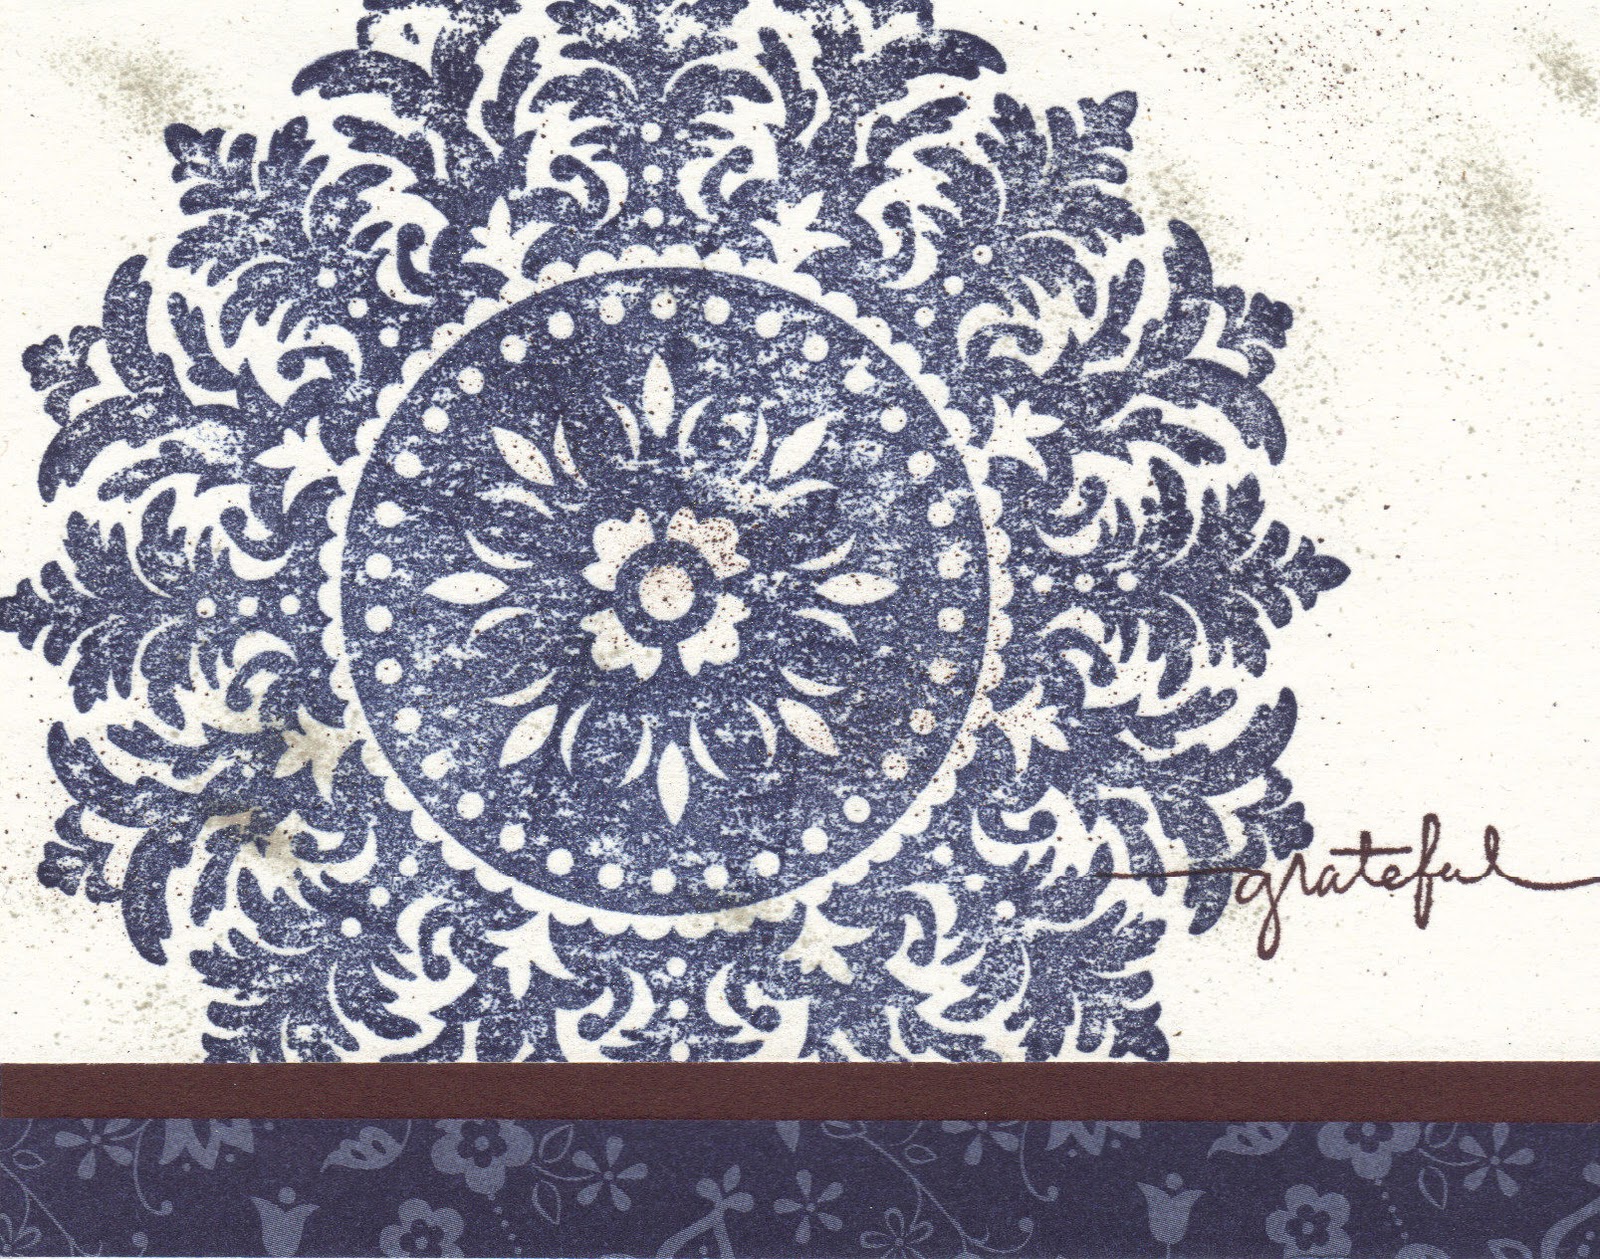
This ornate ornament card is from my friend and team member, Tina. 


I received this card from my friend Barbara.  This is another Kim card.


Stampin' Up! is a great company.  Here's a little gift they placed in my demo order this month.  It's a sample of the rub-ons that will be in next mini catalog! 

Wednesday, December 15, 2010

Medallion Cards

The Medallion is one of Stampin' Up!'s most popular stamps since it was introduced a few years ago, and one of my favorites!  I like because it is elegantly striking and so versatile.  Change the colors and you have a different look and feel.  The first Medallion is stamped in More Mustard and Chocolate Chip with a Real Red strip of cardstock for an accent.  The splatters are made using the Color Spritzer with a Chocolate Chip marker.  I love splattering ink with the Color Spritzer--so much fun!


 This Medallion is done in Night of Navy, and is sponged with Night of Navy as well.

Happy Stamping!

Wednesday, November 17, 2010

Scallop Circle Flowers

I bought an old dictionary for 50 cents at a local resale shop just for the sole purpose of using the pages to punch out, ink up, and distress.  There are three generations of names (year of ownership and phone numbers) of the previous owners written on the inside cover! 


 Here's what I came up with....

Using the 2 3/8" Scallop Circle Punch, cut out 5-6 circles from old dictionary.  Crumple and open.  Stack together and pierce hole through all layers.  Secure with a brad. 

For the background, cut Basic Black cardstock to 5 1/4 x 4, and spray with Silver Foil Smooth Spritz.  Allow to dry.  Then, use Kind Thoughts Brocade Decor Stencil and add Basic Black Classic Ink on top for added dimension.  Attach to standard size card (8 1/2 x 5 1/2 folded in half).  Add punched flower, tags, and ribbon to finish card.
Here's another one...


Happy Stamping!  Bye for now, Maria

Sunday, November 14, 2010

November Stamp Club

Here's the cards from our monthly stamp club swap.  Aren't they wonderful?  Six of us made Christmas cards--that's six less I'll have to stamp this year!

Our project this month is a luminary using the Day of Gratitude stamp set.  Seveal of these would look nice on your Thanksgiving or holiday table.  They would make nice place cards or party favors for your guests.  They are super easy and quick to make. 
  1. Cut a piece of cardstock 3 1/2" x 10 1/4".
  2. Score at 2 1/2", 5", 7 1/2" and 10" (on the long end of cardstock).
  3. Punch desired shape from each section.
  4. Stamp on Vellum Cardstock.  Allow ink to dry and attach to the inside of luminary.
  5. Apply Sticky Strip to the 1/4" end tab and attach together to make square shape.
  6. Add battery operated tealight inside.
Supplies used:  Day of Gratitude stamp set, Pumpkin Pie Cardstock and Ink, Early Espresso Ink, Decorative Label Punch, Cardstock Vellum, battery operated tealight.


This luminary is slightly smaller than the one above.  Cut cardstock to 3" x 10 1/4."  Stamp prior to scoring using the same measurements as above.  
Supplies used:  Marina Mist Cardstock and Ink, Snowflake Punch.

Happy Stamping!  Bye for now, Maria

Saturday, October 30, 2010

Holiday Card

When we meet for Stamp club once a month, we participate in a card swap.  Our theme for November is Holiday and Christmas cards.  This is what I came up with for my swap.  I am so excited that I've gotten them done so soon!  I usually wait until the night before (think 3 am) to even get started. Not sure if it's coming across, but the card base is metallic blue cardstock (not Stampin' Up!--sorry, it was given to me by a friend). After you emboss the front, you will swipe the snowflakes with White Staz-on Ink.  Really makes those snowflakes POP!

Don't forget to embellish the inside!


I couldn't decide which "inside" I liked better.


Supplies used:  Occasional Quotes (Hostess), Winter Post Stamp Sets; Northern Flurry Embossing Folder, White Staz-On Ink; Night of Navy, Bashful Blue Classic Ink;  Whisper White, Bashful Blue Cardstock; 1 3/8" Circle Punch; Decorative Label Punch; Mini Glue Dots and Stampin' Dimensionals.
Happy Stamping!  Bye for now, Maria

Friday, October 29, 2010

Christmas Cards

Now that it is the end of October, it's time to start thinking about those holiday cards.  Here's a few I came up with.  The first card was my swap for the Baltimore Regional Event. 
Supplies used: Peaceful Season Host Set from the Holiday Mini; Always Artichoke Cardstock and Classic Ink; Very Vanilla Cardstock; Cherry Cobbler Classic Ink; 1/2" Circle Punch; Big Shot with Top Note Die; Deck the Halls DSP.

The next one is from a swap I did with my upline's group.  At first I didn't like the Seam Binding ribbon.  After using it, I have changed my mind.  I really like the way it lays flat on my card. 
Supplies used: Tags til Christmas Stamp Set; Cherry Cobbler Cardstock and Classic Ink; Very Vanilla 1/2" Seam Binding; Deck the Halls DSP; Big Shot with Petals-a-Plenty Embossing Folder, and the Ornament Punch.   

Thursday, October 28, 2010

Cards from Friends

Can you guess what I love more than rubber stamping or sharing my love of rubber stamping with others?  Receiving hand-stamped cards in the mail from my friends!  Here are a few...
Gotta love the butterflies...from my dear friend, Tina.  Thanks, Girlfriend!!

The daisy one is from Sharon, my super fantabulous upline! 
Gotta love that Big Shot--it will even cut demin! 

Wednesday, October 27, 2010

October Stamp Club

October's Stamp Club card was another card from the Balitmore Regional. 
Supplies used:  Day of Gratitude Stamp Set, Old Olive ink, cardstock, 5/8" grosgrain ribbon; and the Decorative Label Punch.

Tuesday, October 26, 2010

Day of Gratitude

October 1st, I had the privilege of attending a Regional Training Event in Baltimore, MD.  Stampin' Up! business meetings are unlike any meeting you have ever been to!  There's no boring lecture after lecture--we get to stamp!!!!!!!!!  Here are the Make 'n Takes we stamped with the stamp set, Day of Gratitude, which was FREE just for attending.


Happy Stamping!  Bye for now, Maria

Wednesday, October 20, 2010

Fancy Flower Pins

Hi Stampers!
Isn't fabric luscious?  I love fabric!  In the spring, I purchased fabric at a few quilt shops in Lancaster, PA.  The fat quarters are group together by colors, patterns or texture.  I couldn't resist!  Orginally, I wanted to make myself a few pins to match a few shirts.  I now have enough Fancy Fabric Pins to match every outfit.  


Well, what do you do with leftover fabric if you do not sew or quilt? Make more pins, of course!!! They are available for purchase, and would make great gifts for the holidays. The Fancy Flower Pins look lovely on a sweater, jacket, or the lapel of a blazer. Please feel free to email me for more information. 

Bye for now, Maria

Saturday, September 11, 2010

Just Believe Butterfly Cards

Hi Stampers!  Today's card is from a swap I receieved while at Convention this year.  It was stamped by Mary Ellen Byler, a top demonstrator, using the Just Believe stamp set.  Cards swaps are so appealing (and addictive) because you get so many great ideas!  Rubber Stampers are some of the nicest people.  They are always willing to share! 

On my version, I mostly just changed the colors.  Everything is the same except, I stamped the verse directly on the Top Note die cut rather than on punch out. 

This one is my favorite. I used Cajun Craze for the cardstock and ink. Cajun Craze is a nicer version of Really Rust that was recently retired. To color stamps with markers, place stamp rubber side up on your work surface. Using the brush tip of your marker, apply ink directly on the rubber image where desired. It's okay if the ink dries before stamping. Simply "huff or breath" on the stamp to remoisten the ink before applying it to your cardstock.
Happy Stamping! 
Bye for now,
Maria

Friday, August 13, 2010

Simple Friendship Card - My Digital Studio

Here's another card made with My Digital Studio.  Did I say it was quick and easy?  Yesterday I forgot to mention, Stampin' Up! offers professional printing services for all your MDS projects.  The benefit to using this service is the colors will be the same colors you know and love from SU! That may not be the case when using your home printer or another print service.  You would also be supporting me, your local demonstrator, since it counts towards my sales--thanks in advance! MDS is another way I can be creative especially when I only have a few minutes. 
Happy Creating! 
Bye for now,
Maria

Thursday, August 12, 2010

Friends 24-7 Card using My Digital Studio

I made this card in less than 5 minutes using My Digital Studio, Stampin' Up!'s digital software. My Digital Studio (MDS) can be used to make cards, scrapbook pages, albums, or even dvds. It works on a PC or a Mac and contains hundreds of SU!'s exclusive stamps, designer paper, punches and more! You could even use it to "prefect" your card design before you even pull out any punches or cardstock. Do you have hunderds, or even thousands, of pictures like I do just sitting on your computer? MDS can help you get them off your computer and into beautiful heirloom keepsakes for your friends and family to enjoy for years to come!


Happy Digital Papercrafting!
Bye for now, Maria

Monday, August 9, 2010

Designer Fabric! Holiday Mini Sneak Peak!

At Convention, I was able to get a sneak peak of products in the 2010 Holiday Mini Catalog (starts Sept 1st--should be in your mailbox by the end of August!). Here are some pics of the Designer Fabric that will be in the holiday mini, and some great projects you can make with it. The fabric is 100% cotton. You get 3 coordinated designs. There are two assortments to choose from, Deck the Halls or Candy Cane Christmas, and they coordinate with the Designer Series Paper by the same name. Some of the fabric is cut using the Big Shot.

The ruffles on this purse were made with the Perfect Setting die. The flower was made with the Flower Folds die.
Not into fabric projects or sewing, fabric can be added to cards.


Happy Stamping! Bye for now, Maria