Wednesday, October 17, 2012

October Stamp Club: Twisted Card

Once in a while I participate in a swap with my up, up, up, up, up, upline--that's 6 levels up from me.  The group leader is gracious enough to allow me to join in on the swapping fun even though I'm not really in her group.  A little online research led me to a PDF by Robin Messenheimer and a video by Kelly Gettelfinger (see below). 


On the front of my twisted card before I added the DSP, I taped down the front flap so it doesn't have a pocket--I didn't want the flap underneath the DSP to buckle the DSP.  There is a pocket on the inside, which would be great for a gift card, a tea bag, or a Ghirardelli chocolate square.  Of course, you can have a pocket on the outside if you want to.  As a demonstrator, it could be a really cute networking tool with your business card tucked inside--pass out to potential customers.  Now, I do not go into a lot of details about how to make this card.  You're resourceful--you can watch the video below or search for Robin's PDF mentioned above.  So sorry for any inconvenience, but why reinvent the wheel, or card in this case? 


Start with 8 1/2 x 11 piece of cardstock.
Cut in half at 11 x 4 1/4.
(yikes--sorry about the glare!) 


Score corner to corner.


Score in half. 


Cut DSP same way.


Here's the video created by Kelly Gettelfinger.


The Twisted Card is perfect for Halloween.  Happy Stamping!  Bye for now, Maria

Tuesday, October 16, 2012

October Stamp Club Swaps

Soooooo many great cards this month--hard to pick just one or two favs!


This lovely little treat bag was done by Marcia (that's my sis!).  I love how she stamped on BOTH sides of the little tag.  And, isn't the candy corn ribbon adorable?!  PS--I don't like Candy Corn M&M's.  How about you?  The Pumpkin Spice Kisses were good though. 


Tina stamped this lovely notecard and envelope ensemble using Lacy & Lovely and Daydream Medallions stamp sets blinged out with Pearls and Vintage Faceted Designer Buttons.


 This adorable and "airy" little pumpkin was made by my niece, Sarah, and her friend during a sleepover.  The pumpkin is made from cardstock, and the stem is made out of duck tape.  She's not in stamp club, but she wanted everyone in our group to have one of  her creations.  I love that Sarah is artsy & crafty--she must get that me, lol!  I called them "airy" because she texted me a picture of them the night they were making them.  I said it looked a little "airy."  She quickly responded they're suppossed to be "airy."  Whoops!  Who am I to judge someone else's art?  I think we need to make Sarah an honorary member of stamp club. 


Paige stamped the Frightening Feline card.  The DSP is from last year's holiday selection.  I love how she used taffetta ribbon for a bow on the cate!


Tell the world you created your cards with a personalized stamp.


Pam stamped this Happy Halloween card with Button Buddies.
I love the opening on the front!


 Mary created with rolled ribbon flower with Primrose Petals Stitched Satin Ribbon.  You'll need Jumbo Sticky Rounds to complete this flower.  The leaves on the stem are from the Blossom Petals Builder Punch.  "For you" is from Mixed Medley hostess set from the Holiday Catalog.  Mary did not have Primrose Petals ink so she used Regal Rose ink, which goes lovely with the Primrose Petals. 


Frances stamped this halloween card. 
So creative how she used white thread to mimic a spider web!


This is a Kim Card--absolutely lovely!  Personalized stamps can be customized any way you wish--just like Kim's "This is a Kim Card."


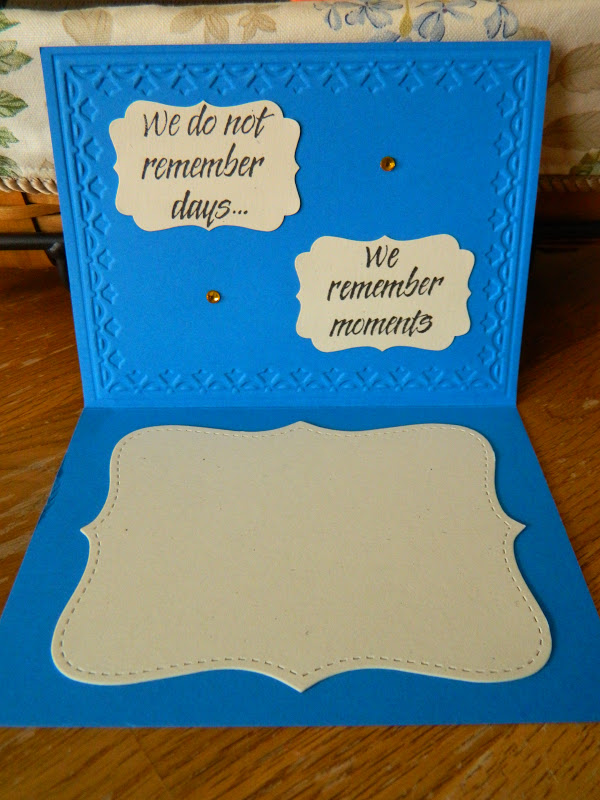
Barbara stamped this lovely card. 
What I like most about it, is how she decorated the inside. 

Another one from Barbara with From My Heart set and Apothecary Accents Framelits.


Again, the inside is decorated--even with rhinestones on the inside!


This stamped was created with Mixed Bunch and the coordinating Blossom Punch.


Last, but not least...Snowflake Soiree stamped with the new Illuminate Glimmer Watermark pad--it's a shimmery watermark--love it!!!  Sparkle is my new favorite color!


That's it for this month.  Check back next month for more stamp club creations.  Happy Stamping!  Bye for now, Maria

Saturday, October 13, 2012

Make and Take Redo

The top photo was a convention make and take pouch. I like the flower made out of fabric and stuck on a skewer for a stem, but not really sure what you're suppossed to do with the pouch. I like practical/useful stamped items. The bottom photo is how I re-made the pouch into a card. I like my version much better. I added Midnight Muse, Daffodil Delight, and Primrose Petals to Natural Composistion DSP with a sponge to make the embossed image "pop!"

Tuesday, October 9, 2012

From Scraps to Tags

If you've been stamping awhile, you have a pile of scraps. What do you do with them, besides organize them? Make tags out of them! This set is a very old retired set from Stampin' Up! The bunnies are colored with Prismacolor pencils. Coloring is not something I do very often because of the time involved, but it is very relaxing and therapeutic.

Monday, September 17, 2012

Emboss Resist Part 3

Time to step it up a little for this emboss resist card.  Add an additonal die cut leaf, a button and some linen thread.  Turn the direction of the card for a different look. 

Sunday, September 16, 2012

Emboss Resist Part 2


This card also uses the emboss resist technique.  The only difference between this card and the one from September's Stamp Club is the Early Espresso Core'dinations Cardstock, which has a lighter core than other cardstock.  When the raised image is sanded the lighter core is revealed. 


After sanding, you will want to remove the fuzz balls with the Dust Buddy.


Saturday, September 15, 2012

September Stamp Club: Emboss Resist


The technique for September's stamp club project is called emboss resist.  Emboss the image with clear embossing powder. Then, apply ink by sponging or brayering ink onto the cardstock.  Lightly buff the embossed image with a tissue to remove any excess ink. 


Or, you could use Natural Composition DSP--it is already clear embossed.  How's that for a time saver?   First, die cut the DSP with the Autumn Accents Bigz Die.  Sponge with More Mustard and Cherry Cobbler ink working light to dark.  "Hello" comes from Lacy & Lovely.  Other supplies used on this card:  Decorative Label Punch, Woodgrain embossing folder, Early Espresso Cardstock and Ink, Crumb Cake Cardstock.  Happy Stamping!  Bye for now, Maria

Friday, September 14, 2012

September Stamp Club Swaps

A few items from our monthly swap....


To make this adorable little envelope that holds a gift card, Tina says start with a 4 1/2" piece of DSP.   Using the Simply Scoring Tool with the Diagonal Plate, score at 2 5/8 on two opposite ends, and at 1 5/8 on the on the other two opposite ends. Fold sides in, fold bottom up, and cut point off top.  Glue bottom edges up to the sides.  Fold flap down, and round with corner rounder.


Add velcro rounds to secure gift card inside.


Pam made this lovely notecard with the Snow Festival Designer Printed Tags and Festival of Prints DSP Stack.  The stack is 48 sheets of 4 1/2 x 6 1/2 double sided DSP.  Cut a sheet in half and it makes the perfect layering piece for a Notecard.  The tags leave plenty of room to stamp your favorite sentiment.


Now, this card may look like it was made out of a paper bag, but I assure you it wasn't.  It was made from the brown packing material that comes in our Stampin' Up! orders.  It was ironed to flatten out the crinkles and then stamped and embellished like a  normal piece of cardstock--this is called upcycling not recycling!


Marcia created this adorable little bunny card.


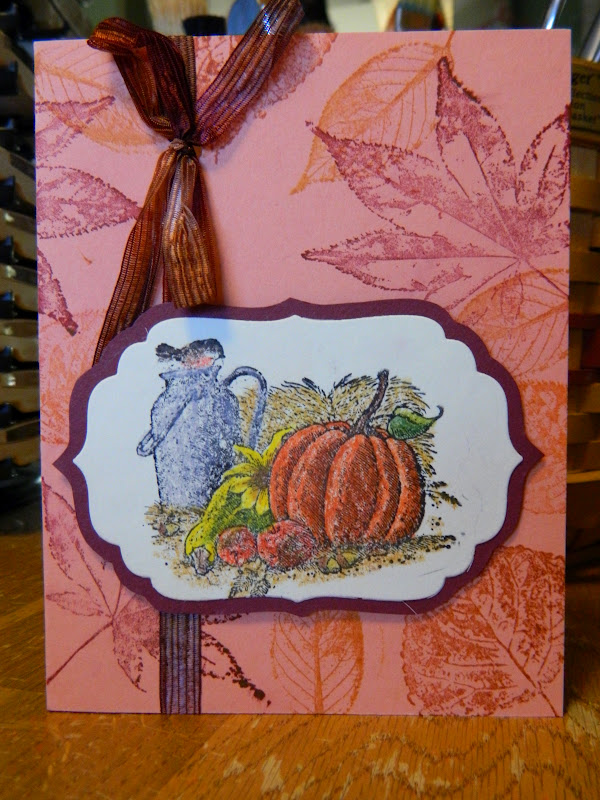
Joan created this wonderful fall card.


Susan created this tea bag holder. 
This is the treat holder from August 3, 2012 post.


Until next month...happy stamping!  Bye for now, Maria