Showing posts with label February Stamp Club. Show all posts

Saturday, February 14, 2015

February Stamp Club: Mini Treat Bag Thinlits

Hope you had a nice Valentine's Day!  This month's stamp club project was a lovey one since it was held on Valentine's Day.  


The Big on You Stamp images are large and are designed to fill the front of a card.

Both the "for you" and heart window are from the Mini Treat Bag Thinlits set.  


Stamps sets: 
Big on You, Another Thank You (little heart image)

Supplies used:
Mini Treat Bag Thinlits Dies
Spring Flowers Embossing Folder
Real Red, Whisper White (5 x 3 3/8), Crumb Cake Card stock
Real Red, Crumb Cake Ink
Sweetheart Punch
Gold Sequin Trim
Mini Metallic Clothespins
Sticky Strip and Multipurpose Liquid Glue


Some people LOVE Valentine's Day--some people HATE Valentine's Day.  Whichever camp you're in, we should show love and gratitude to everyone everyday!  Happy Valentine's Day!  Happy Stamping!  Bye for now, Maria

Saturday, February 8, 2014

February Stamp Club: Good As Gold & A Treat Holder

When I first became a demonstrator in 1999, there was no Salabration brochure, or 11 different items to pick from--just a one page, black and white flyer, and there was only 4 stamp sets to pick from!  The neat thing SU! did though was color the rubber of the stamps in a different color each year--my first Salabration the rubber was Forest Foliage.  And, there was Pretty in Pink, Lavender Lace, just to name a few.

This is the Good as Gold Card Kit--it's a Salabration item!  These were our projects for February Stamp Club. The little treat holder was from a swap I rec'd at Leadership. Isn't it cute?  It uses the new Tag Topper Punch.  I'm so glad to see tags are still in style.  Tags have been popular for as long as I've been stamping. Tags are one of my favorites!  Great accent for the front of a card! 


The Good as Gold Kit is very easy. Just open the pkg, pop out all the die cuts, assemble the cards, and add your ribbon. It even comes with gold envelope liner.  Beautiful!  

The treat holder is also very easy.  You need a 2" wide piece of cardstock to fit in the channel of the Tag Topper Punch.  You can make your tag any length. For this treat holder, cut cardstock to 6 1/4" x 2."  Score at 2 7/8" and 3 3/8."  Any flat candy or chocolate will fit. Here I used York Peppermint Patties. Ghiradeli squares work great too--my fav is the dark chocolate ones with sea salt--yum!!

Supplies used:
Good as Gold Simply Sent Kit
That's The Ticket, Lovely Labels stamp sets
Pink Pirouette, Very Vanilla cardstock, Red and Champagne Glimmer Paper
Tag Topper, Ticket, Full Heart, Banner Punches
Very Vanilla Seam Binding Ribbon
Pool Party, Gold Encore inks

When it comes to Glimmer Paper, I like to hot glue it together--much better hold than anything else I've tried with it. Happy Salabrating!  Bye for now, Maria

Saturday, February 9, 2013

Embossed Cardstock Strips


You know how to emboss with the Big Shot and an embossing folder.  Here it's the same concept, but instead of a single sheet of cardstock, you will use strips of cardstock.  I used the Vine Street embossing folder--see your Salabration folder.  This folder will NOT carry over into any other Stampin' Up! catalog--Stampin' Up! said so! 

Stamps:  Bloomin' Marvelous

Ink:  Island Indigo, Summer Starfruit

Cardstock:  Sahara Sand, Pool Party, Summer Starfruit, Rich Razzleberry, Island Indigo

Other:  Oval Punch, Sycamore Street Ribbon (Salabration)

Thursday, February 23, 2012

February Stamp Club: Easel Card

At last year's convention, I received several Easel Cards.  A few weeks ago, Stampin' Up! posted an Easel Card Video Tuturial.  You can view it here...


For February's club project, we created an Easel Card using the Salabration items, Fresh Vintage Stamp Set, Everyday Enchantment DSP and Ribbon & Brad Pack.  We also used the Beautiful Butterflies Bigz Die (love this die!), Poppy Parade cardstock and ink, and the Designer Label Punch.


To recap how it's made:  Cut cardstock to 4 1/4 x 11.  Score it on the long edge at 2 1/2 and 5 1/2.  Take a second piece of cardstock and cut it at 5 1/2 x 4 1/4 (decorate or add photo).  For the inside, add a piece of cardstock 2 x 4 1/4 (decorate) and attach with Stampin' Dimensionals. 

Monday, March 14, 2011

Never Ending Card Picture Tutorial

Our project for February Stamp Club is called a Never Ending Card. The idea came from my monthly demonstrator only magazine, Stampin' Success.  It's never ending because you can keep folding and opening it to reveal another "side".   Here's how it starts to open....


and then it opens again...


and again...


and one more time...


Cool, huh?  First you will need to cut and score your cardstock.  You will need two pieces of cardstock that are 2 3/4" x 4 1/4" scored at 1 1/16" from both ends. 


Next, you will need two pieces of cardstock that are 2 1/8" x 5 1/2" scored at 1 3/8" from both ends. 


Place a very strong adhesive like Sticky Strip as shown in the photo below on the two wider pieces. 


Lay out your pieces as shown.


Line up the two wider pieces making sure your score lines are lined up.  Remove the red liner to the Sticky Strip.  Place the longer pieces on top of the adhesive on the wider pieces. 


After attaching all four pieces together, carefully crease and fold everything to make sure your card is folding over and over again.  I found that it was more important to match up the score lines rather than lining up the corners. This will ensure that your card folds properly.  You can always trim up any excess edges if needed.  After you have assembled your card, it should have this "h" pattern. 


Decorate with a 2 1/2" x 1 7/8" piece of DSP and embellish as desired. It will even fit into a regular "medium" or invitation sized envelope.  Now you are ready to impress your family and friends!


Rose Red and Pretty in Pink cardstock and ink, Whisper White cardstock, Love Patterns DSP, I {Heart} Hearts stamp set, Full Heart and Heart to Heart punches were used to make this card. 

February's card swaps....

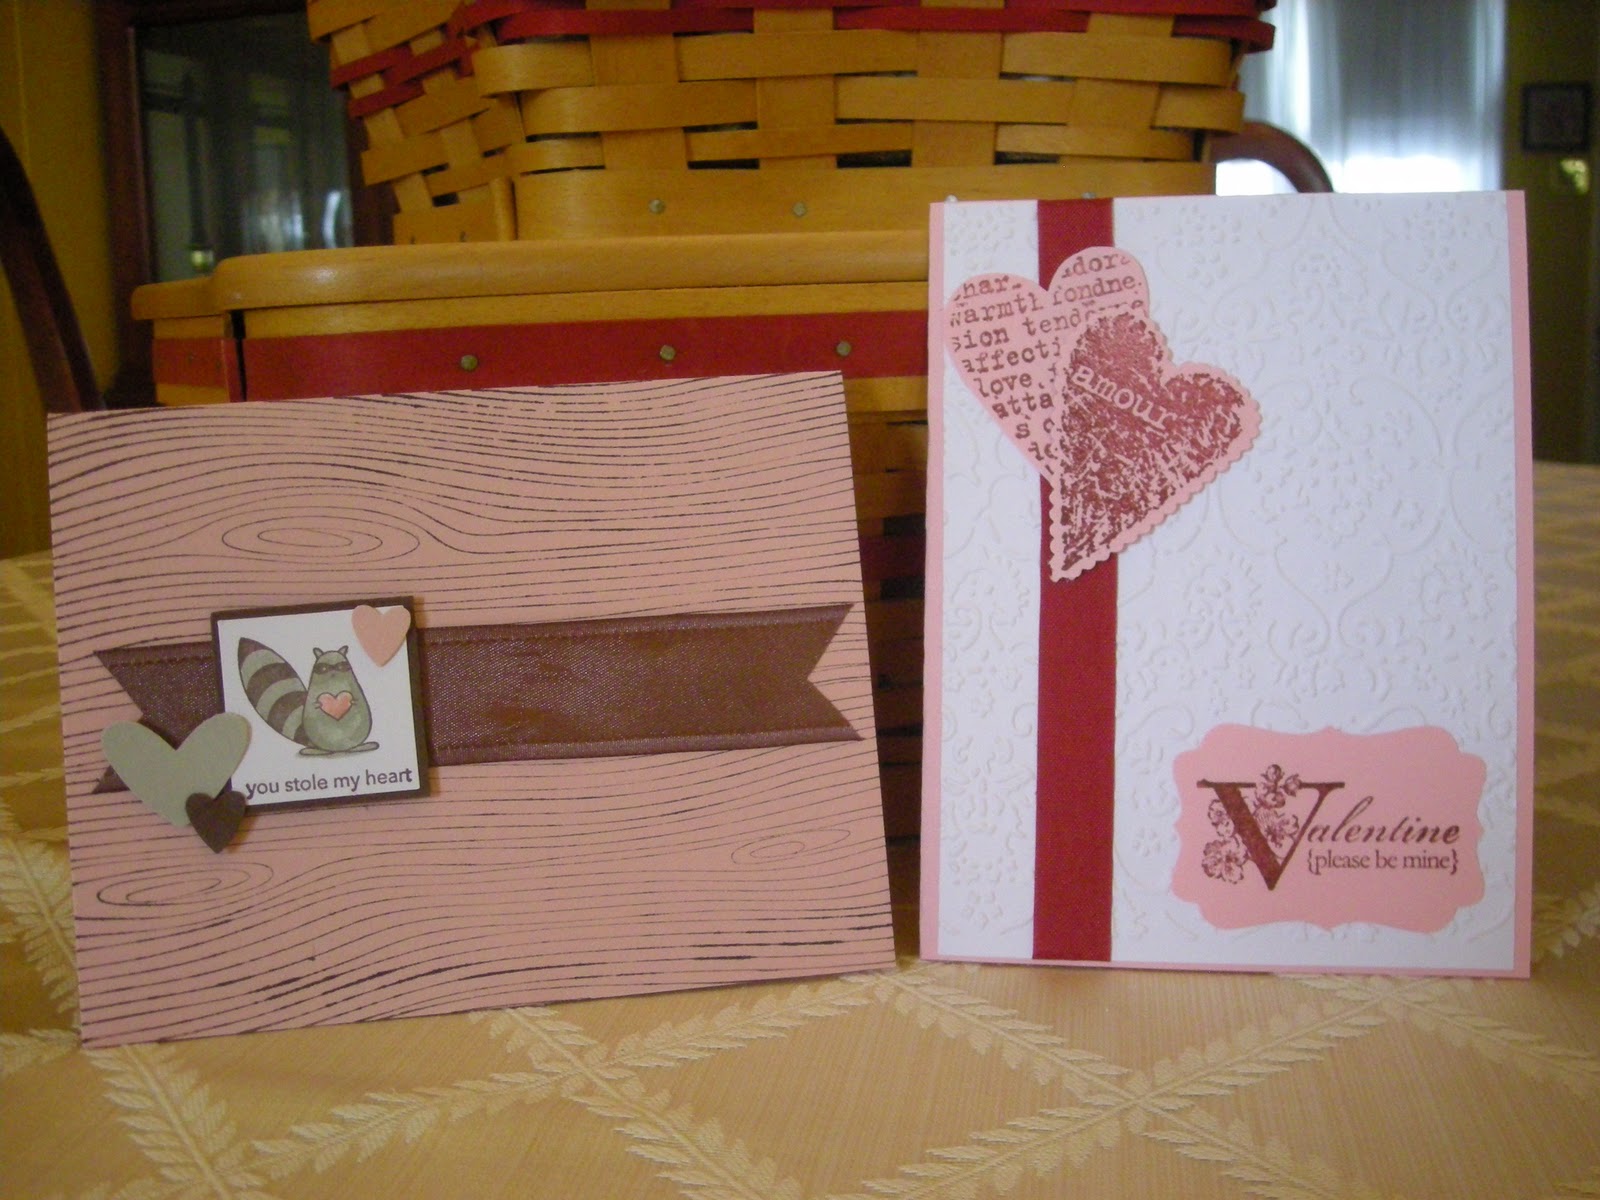
Love Bandit is stamped by me.  Valentine hearts by Joan. 


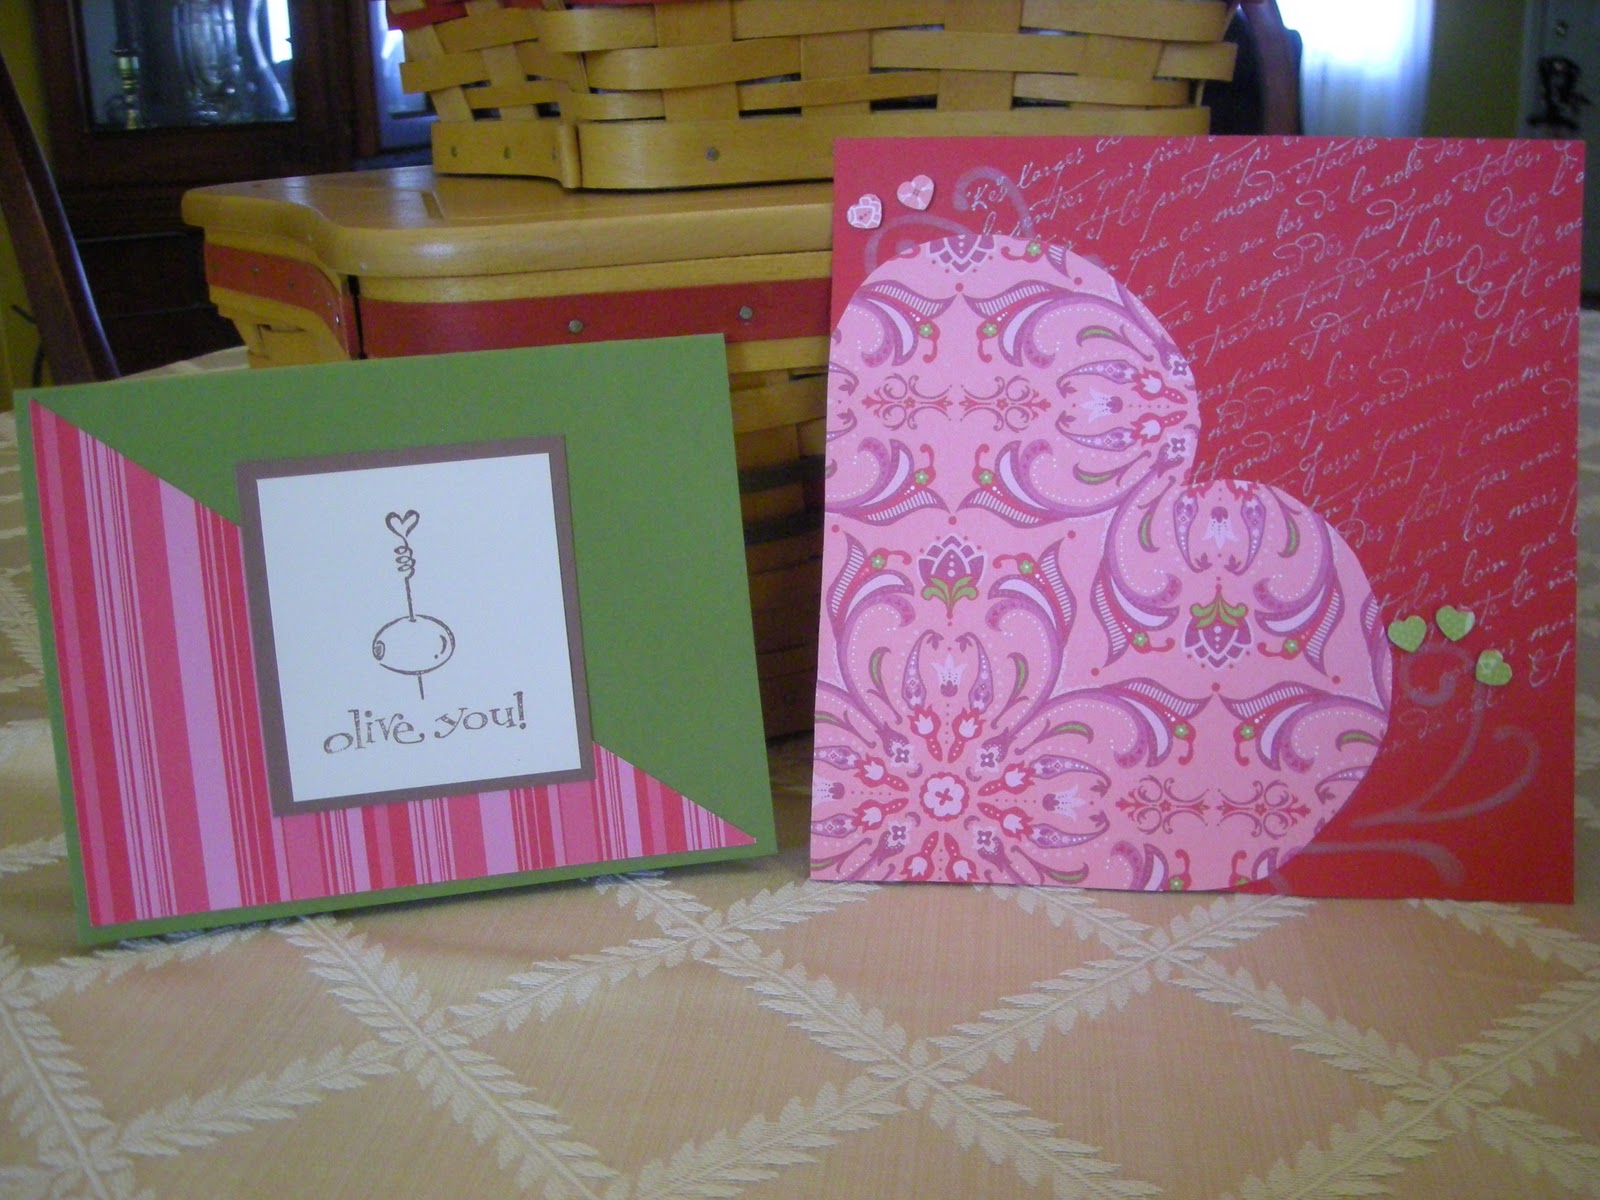
Frances stamped the "olive you" card.  Lisa made the heart scrapbook page.


Tina stamped this one.


Cupcake card by Debbie and Thinking of You by Barb.


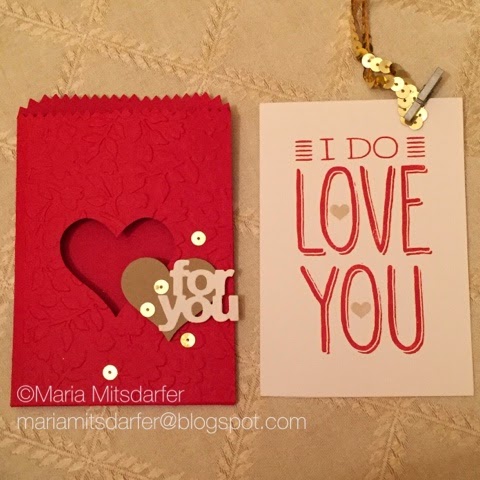
Die cut pillow box is embossed and then cut out with the Big Shot by Heather. 
Paige made the fold-over candy holder with a heart shaped Peppermint Patty inside.


This is a Kim card.  I always say "this is a Kim card" because she had a personalized stamp made to say that and stamps it on the back of all her card creations.  When her co-workers would receive one of them,  they would say, "I got a Kim card." 


The medallion cards are from the Simply Sent Medallion Medley kit on page 41 of the Occasions Mini Catalog.   The kit comes with 8 printed, embossed cards, 1 sheet of blank ticket-corner labels, and envelopes.   You can create cards in an instant with the supplies that come in the kit, like Mary did on the left.  Or, if you want to kick it up notch, just add an oval punch out and some ribbon like the one on the right. 


Happy Creating!  Bye for now, Maria