Showing posts with label Fabric. Show all posts

Thursday, February 6, 2014

Throwback Thursday: Fabric Bag


Are you on Pinterest?  I love Pinterest!  While on Pinterest, I see all these fabulous sewing projects.  So, for today's Throwback Thursday, we have a fabric bag.  It sure was nice to have fabric that coordinated with SU! colors and patterns.  Really gives  your projects that finished, polished look when the packaging matches the gift inside.  I only know some basic sewing, but mom is fabulous, and she does most of the sewing for me.  What are you inspired to create after being on Pinterest?  Happy Sewing!  Bye for now, Maria

There's still fabric on the clearance rack.  Shop anytime www.mariamitsdarfer.stampinup.net  

Thursday, October 18, 2012

Altered Composition Notebook Update

Another altered composition notebook using Spice Cake Fabric and matching DSP--oh, how I wish Stampin' Up! still sold the DSP!


It's personalized with Typeset Alphabet Bigz Die.


The fabric is tied around the front cover and knotted.


Creating altered notebooks is addicting--espeically when you can get tons of composition notebooks for cheap before kids go back to school!

Sunday, July 22, 2012

Flower Brooch


This set of flower pins is made using the Flower Folds Die for another Fabric Flower Pin Swap at Convention.  For this one, you will only need the 3 largest flowers.  Cut four flowers in each of the three sizes in your desired fabric.  These fabrics came from the fabric store.  Stampin' Up! does sell "designer fabric" in coordinating sets that match the DSP--it is very lovely!  From Stampin' Up! Designer Fabric Project Sheet,  "beginning with the largest flower, fold one flower in half.  Fold a second flower in half and layer over the first flower, overlapping two of the petals.  Glue in place.  Repeat with the thrid and fourth flower, overlapping and gluing as you go, with the last flower overlaping the previous flower and going under the first flower (this is just like folding down the top of a cardboard box with the last flap under the first. Repeat for rest of the flowers.  Add button and ribbon.  Glue pin to back of  brooch."  Gotta love these no sew projects!

Saturday, July 21, 2012

Flower Folds Pin/Bag Tag

I enjoy making flower pins with the Flower Folds die and the Big Shot.  These flowers get zapped with the heat tool in order to shrink them, and curl up the petals.  For this technique to work, you  need to  use synthetic fabric--the cheaper the better.  Not a sewer?  Not a problem!  I know how to sew, but I still need a lot of guidance while I'm sitting at the machine (thanks, Mom--she's good like that!).  So, I'm all about anything I can cut out with the Big Shot, and glue together.


You will need all four flowers for one pin.  All four flowers will layer togegther to make a beautiful flower.  I turned mine into pins, but they make great bag tags or look great on the front of a card.  After cutting out the fabric, you will want to zap each flower layer with the heat tool.  This will shrink the fabric and curl the petals.  The fabric tends to blow and flop around as the air from the heat tool hits it.  I hold it in place with a "clip on a stick"--just don't touch the metal part--ouch!!


The heat tool really reduces the size. 


Layer the flower togther with hot glue--no sewing for me!


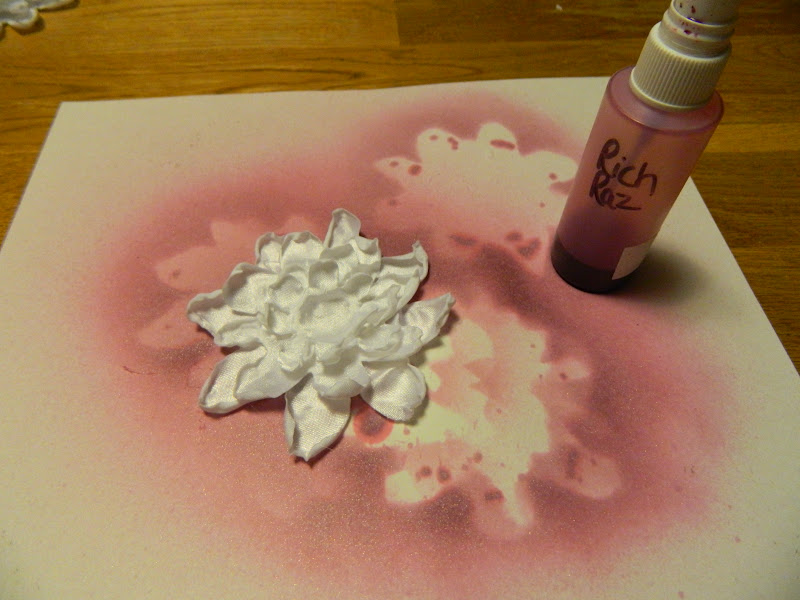
Now, for the fun and messy part....make your own shimmer spritz with rubbing alcohol, Shimmer Paint, drops of ink refills in an empty hairspray bottle (Stampin' Up! now sells these really cool Spriter Bottles).  Shake well and spray.  The more drops of ink you use and the more you spritz, the more concentrated the color will be.  Allow to dry. Make sure you protect your work surface. 


Look at those awesome shimmery flowers!  Ink Refills used:  Rich Razzleberry, Melon Mambo, Wisteria Wonder, Calypso Coral, Lucky Limeade, Pool Party, Elegant Eggplant, Island Indigo
On a few of them, I sprayed them with two different colors for a two-toned effect--turned out very cool!


Oh, my goodness...look at my hands!


Add a button and ribbon or thread to the center for a finished look.  To thread ribbon cut the end of the ribbon thin enough to thread through button hole.  Tie in knot.  Hot glue to front of flower.   Finish by hot gluing a pin on the back.  Add clip or key chain for bag tag.


They hold up pretty well...the one above is on one of my Vera totes that I cart around everywhere including SLC to Convention!!!!  If I wanted to "seal" the edges, I could just zap it with the heat tool again. 


This bunch of 6 pink pins  (Melon Mambo) are for a Fabric Flower Pin swap at convention and for general 3D swaps.  Don't wear pins, they make great bag tags.  Or, glue a magnet to the back and display them on the frig.  Happy Creating!  Bye for now, Maria

Wednesday, January 12, 2011

Designer Fabric and Fabric Cards

The fabric on this wreath is Candy Cane Christmas Designer Fabric from the Holiday Mini.  Each pack of fabric came with an instruction sheet for five projects including this wreath.  It was really simple to make.  I was able to finish it in an evening, and the instructions were easy to follow.  It did involve a little sewing, which I did by hand.  If you can sew on a button, you can make this wreath!  The large blue flowers were glued together with hot glue rather than sewed.   Since Candy Cane Chritmas is not your typical traditional holiday colors, I'm ok with leaving this wreath on my front door for a while longer.  I apologize for posting this after Christmas (and after the Holiday Mini selling period).  If you like the Designer Fabric, there are two new options in the Occcasions Mini Catalog--Springtime Vintage and Sweet Stitches.  You can view them here at my Stampin' Up! website.       


Here's what I did with some of the leftover pieces of fabric...made some pins to match one of my Stampin' Up! logo shirts. 


Still think Designer Fabric isn't for you?  Here's some fabric used on a card.  Again, these were made from leftover pieces from the wreath and pins.  The hearts are die cut with the Big Shot and the Hearts & Brackets die.  To attach the fabric die cuts to your cards, you could use the Big Shot Fabric Adhesive Roll or the Tombo Multipurpose Liquid Glue.  Also used is Teenie Tiny Wishes Stamp set, Word Window and Modern Label Punches.


This is just a strip of fabric tied around the front of the card like it was a piece of ribbon.


A Word for You stamp set in Real Red is used in these cards. 


While I'm not a sewer, I still like the Designer Fabric option from Stampin' Up!  I like that the beautiful patterns coordinate and match the Designer Series Paper.  Fabric is another way to add texture and dimension to your crafting and card making projects.  Happy Stamping!  Bye for now, Maria

Wednesday, October 20, 2010

Fancy Flower Pins

Hi Stampers!
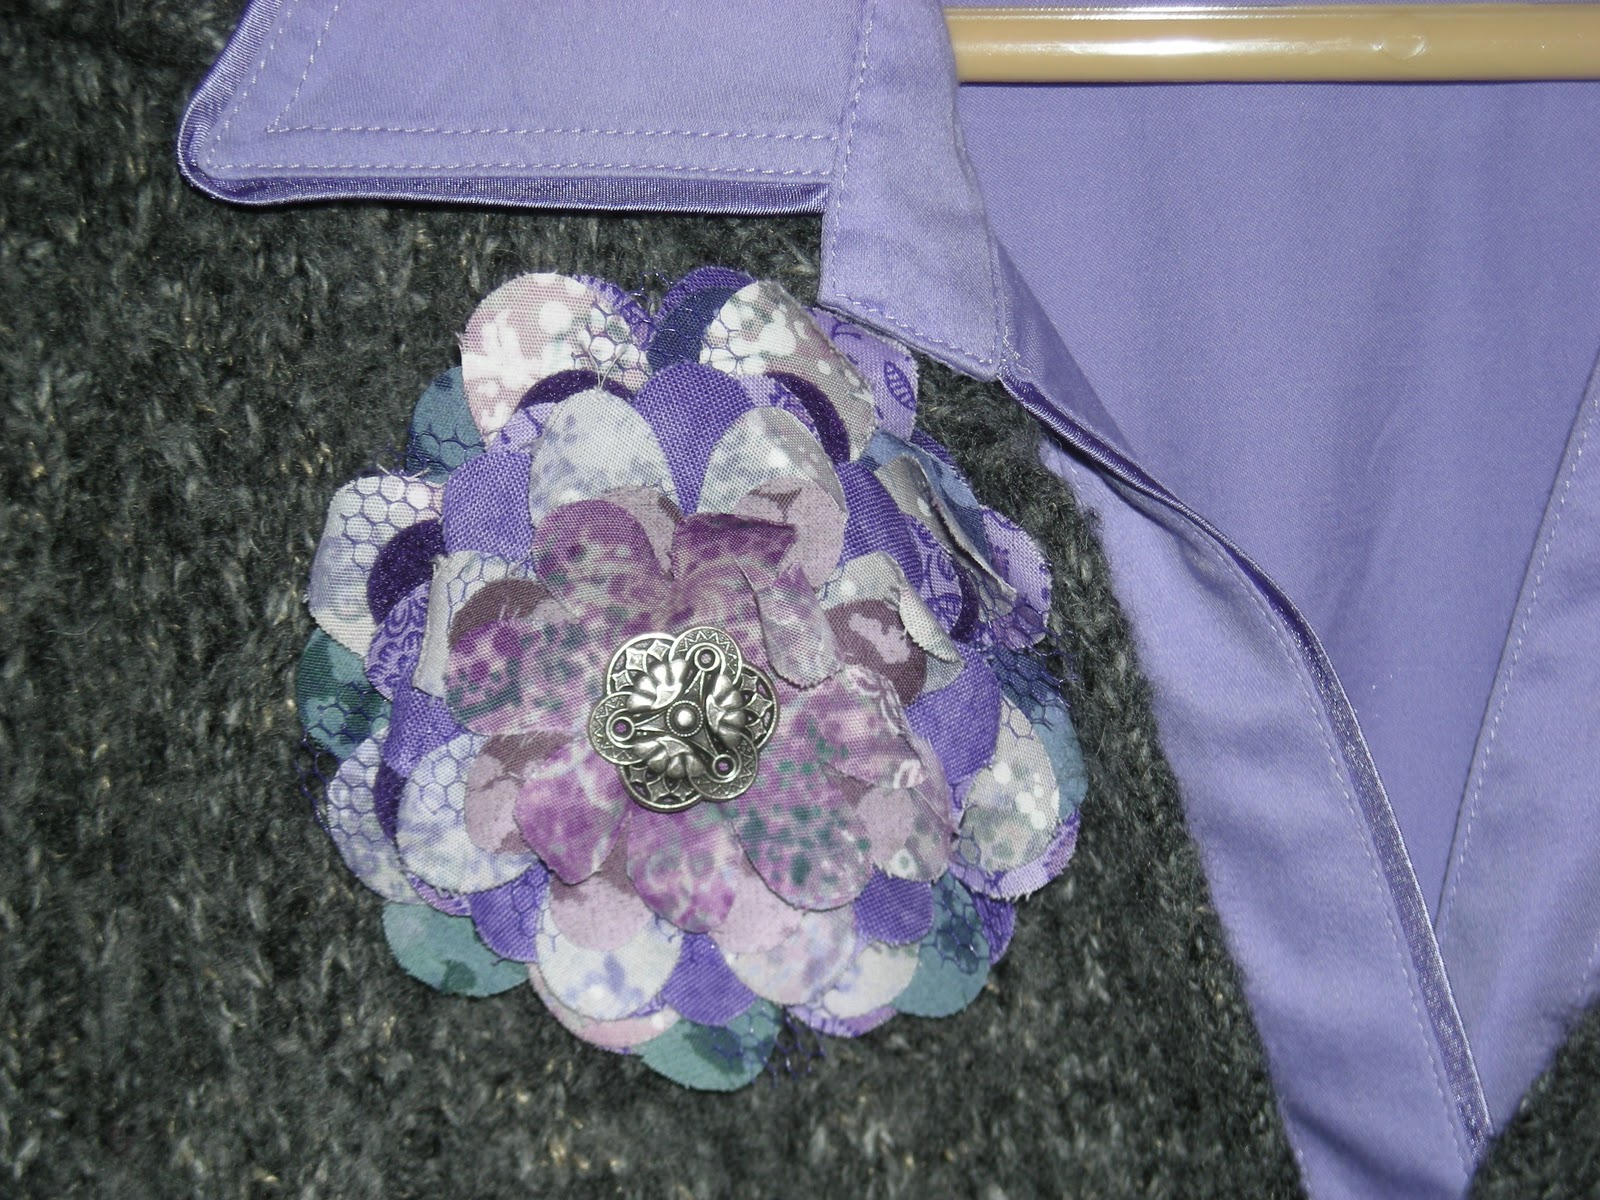
Isn't fabric luscious?  I love fabric!  In the spring, I purchased fabric at a few quilt shops in Lancaster, PA.  The fat quarters are group together by colors, patterns or texture.  I couldn't resist!  Orginally, I wanted to make myself a few pins to match a few shirts.  I now have enough Fancy Fabric Pins to match every outfit.  


Well, what do you do with leftover fabric if you do not sew or quilt? Make more pins, of course!!! They are available for purchase, and would make great gifts for the holidays. The Fancy Flower Pins look lovely on a sweater, jacket, or the lapel of a blazer. Please feel free to email me for more information. 

Bye for now, Maria

Monday, August 9, 2010

Designer Fabric! Holiday Mini Sneak Peak!

At Convention, I was able to get a sneak peak of products in the 2010 Holiday Mini Catalog (starts Sept 1st--should be in your mailbox by the end of August!). Here are some pics of the Designer Fabric that will be in the holiday mini, and some great projects you can make with it. The fabric is 100% cotton. You get 3 coordinated designs. There are two assortments to choose from, Deck the Halls or Candy Cane Christmas, and they coordinate with the Designer Series Paper by the same name. Some of the fabric is cut using the Big Shot.

The ruffles on this purse were made with the Perfect Setting die. The flower was made with the Flower Folds die.
Not into fabric projects or sewing, fabric can be added to cards.


Happy Stamping! Bye for now, Maria