Wednesday, January 12, 2011

Designer Fabric and Fabric Cards

The fabric on this wreath is Candy Cane Christmas Designer Fabric from the Holiday Mini.  Each pack of fabric came with an instruction sheet for five projects including this wreath.  It was really simple to make.  I was able to finish it in an evening, and the instructions were easy to follow.  It did involve a little sewing, which I did by hand.  If you can sew on a button, you can make this wreath!  The large blue flowers were glued together with hot glue rather than sewed.   Since Candy Cane Chritmas is not your typical traditional holiday colors, I'm ok with leaving this wreath on my front door for a while longer.  I apologize for posting this after Christmas (and after the Holiday Mini selling period).  If you like the Designer Fabric, there are two new options in the Occcasions Mini Catalog--Springtime Vintage and Sweet Stitches.  You can view them here at my Stampin' Up! website.       


Here's what I did with some of the leftover pieces of fabric...made some pins to match one of my Stampin' Up! logo shirts. 


Still think Designer Fabric isn't for you?  Here's some fabric used on a card.  Again, these were made from leftover pieces from the wreath and pins.  The hearts are die cut with the Big Shot and the Hearts & Brackets die.  To attach the fabric die cuts to your cards, you could use the Big Shot Fabric Adhesive Roll or the Tombo Multipurpose Liquid Glue.  Also used is Teenie Tiny Wishes Stamp set, Word Window and Modern Label Punches.


This is just a strip of fabric tied around the front of the card like it was a piece of ribbon.


A Word for You stamp set in Real Red is used in these cards. 


While I'm not a sewer, I still like the Designer Fabric option from Stampin' Up!  I like that the beautiful patterns coordinate and match the Designer Series Paper.  Fabric is another way to add texture and dimension to your crafting and card making projects.  Happy Stamping!  Bye for now, Maria

Saturday, January 8, 2011

Mess, The Manual of Accidents and Mistakes

When I found this book at the book store, I couldn't resist!  It's called Mess, The Manual of Accidents and Mistakes by Keri Smith.  It is NOT your typical book.  Each page has different instructions on how to destroy or alter the pages.  You are suppossed to MESS up this book! This book is hysterical, fun and wacky all at the same time.  I have been having so much fun with this book, I thought it was worth sharing with you. 


This page you are only supposed to put "blue" things. 


I added ALL my classic ink pad colors on this page.  It was delightful to just smear and smudge each color on the page!

The instructions on this page is to help this man "let loose a little" by giving this man a makeover.  Not sure if I accomplished that, but it sure does crack me up!!


This page was suppossed to be ripped out and then crumpled, but I just couldn't do it.  I crumpled it the best I could while it was still intact inside the book.  I started to cringe when the page started to rip!


You were instructed to create a tangle and place it here.  One night when I was sewing flower pins together,  my thread knotted up multiple times.  I was so frustrated, and thought this was the perfect place for the thread! 


The idea of this book is to let loose, make a mess, break through a block, and have fun!  Maybe it will help you come up with a new idea in the process.  It may not be rubber stamping, but it reminds me to let loose, have fun, and that it's okay to make a mess when I am rubber stamping!  Rubber Stamping is suppossed to be fun!!  So, let loose, make a mess!  Have fun with it!  It's rubber stamping NOT brain surgery!
Bye for now, Maria

Friday, January 7, 2011

December Stamp Club

December's Stamp Club was crazy fun! We stamped, laughed, blabbed, ate yummy food (thanks Debbie & Pam), played Left-Center-Right (dice game you can play for money, candy, etc), and finished with our yearly Christmas gift exchange. This year our stampers were on their moderately good behavior. Only some gifts were "stolen", but it was still fun. We filled a Medium Cell Bag with small candy canes. Topped it off with the Top Note Die (Deck the Halls DSP) along with some ribbon and a stamped image. The inspiration for this month's project came from my team member, Tina.


Supplies used: Occasional Quotes, Always Artichoke Classic Ink, 1 3/4" Circle Punch, 5/8" Very Vanilla Grosgrain Ribbon, Decorative Label Punch (holiday mini), and the Deck the Halls DSP (holiday mini).

Tina createad this adorable candy treat bag with Merry Crittermas Stamp Set, Candy Cane Christmas DSP (both from the holiday mini), and 1/8" Real Red Taffeta Ribbon at her Demonstrator Kick-Off Party.


Even though Christmas is over, you can still make treat bags for all the upcoming holidays for 2011.  Think Valentine's Day, St. Patrick's Day, Easter, weddings, graduations.  Lots of opportunities to make treats for your sweets!

The next two cards are club swaps.  Tina made this one. 


Debbie made this one.


This is a fold over card or tag made with the Big Shot Top Note.  You place the fold on the very top of the Top Note. 


And this card is the FIRST card I ever made!!!  Didn't know I still had one around.  I had to learn how to emboss and buy a heat tool just so it would have that "raised" finish.  The silver paper has a linen texture.  I painted it with silver metallic paint because there wasn't metallic paper back when I started stamping over 14 years ago.  Patchwork Angel is the name of the retired Stampin' Up! set.  Back then almost ALL available stamps were "cute and country."


You can even stamp on sugar cookies.  This is a kit my mom bought me from Williams Sonoma last year.  The sugar cookie recipe that comes inside makes the BEST sugar cookie I have ever tasted!!! 


The letters keep their shape during baking.  You can customize any name you want.  Mom made personalized cookies for her grand-daughers.  And, it comes with other holiday phrases like "happy holidays.  Sorry--I don't have a baked one to show you--we ate them all!


Happy Stamping!  Bye for now, Maria

Saturday, December 25, 2010

Merry Christmas!!!

To my Dear Stampers,

Stampers like you are the heart of my Stampin' Up! business! 
Thank you so much for supporting me throughout the past year!
It has been a real pleasure stamping with you this year.
Wishing you and your family a very Merry Christmas
and a healthy, happy and successfull New Year!

Stampingly yours,
Maria

Here are some hand-stamped cards I received in the mail this year.  This card I received from an upline for recruiting two demonstrators in October. I am so glad and excited to have Tina and Paige on my team!  Candy Cane Christmas Designer Fabric is used like a piece of ribbon around the card.


Merry Christmas Circles was stamped by Frances and her daughter Elizabeth from Virginia. 


I received this card from my upline and friend, Sharon.  The glitter is applied to the Big Shot Multipurpose Adhesive Sheets.  Scenic Season and Welcome Christmas stamp sets were used.


Sending Three Wise Men cards for Christmas is tradition.  I received this card from Kim.  Come to Bethlehem stamp set.

Here's the inside of Kim's card...


Good ol' Button Bear from my cousin, Sheila.  Gotta love Button Bear!


Here's another Three Wise Men card from my Mom.


This card is from the Kanich family.


Christ is Born is from Florence. 


This ornate ornament card is from my friend and team member, Tina. 


I received this card from my friend Barbara.  This is another Kim card.


Stampin' Up! is a great company.  Here's a little gift they placed in my demo order this month.  It's a sample of the rub-ons that will be in next mini catalog! 

Wednesday, December 15, 2010

Medallion Cards

The Medallion is one of Stampin' Up!'s most popular stamps since it was introduced a few years ago, and one of my favorites!  I like because it is elegantly striking and so versatile.  Change the colors and you have a different look and feel.  The first Medallion is stamped in More Mustard and Chocolate Chip with a Real Red strip of cardstock for an accent.  The splatters are made using the Color Spritzer with a Chocolate Chip marker.  I love splattering ink with the Color Spritzer--so much fun!


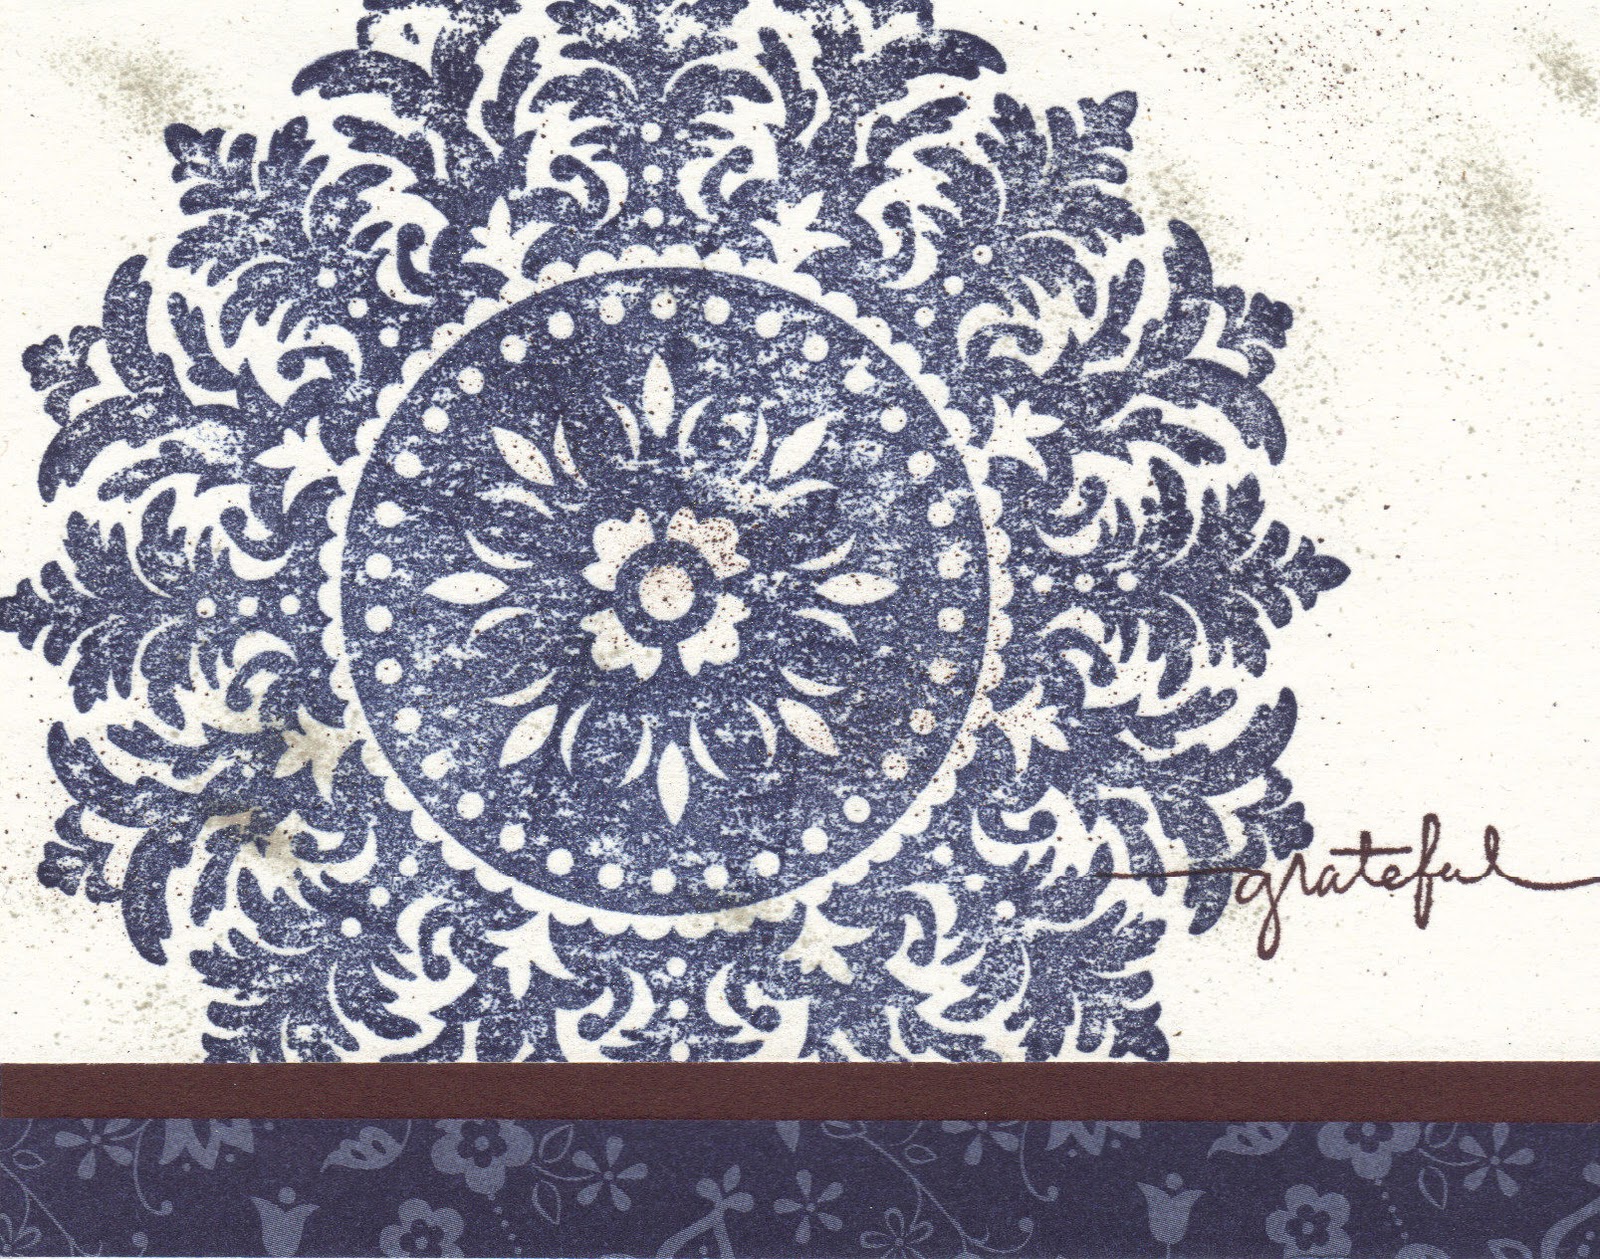
 This Medallion is done in Night of Navy, and is sponged with Night of Navy as well.

Happy Stamping!

Wednesday, November 17, 2010

Scallop Circle Flowers

I bought an old dictionary for 50 cents at a local resale shop just for the sole purpose of using the pages to punch out, ink up, and distress.  There are three generations of names (year of ownership and phone numbers) of the previous owners written on the inside cover! 


 Here's what I came up with....

Using the 2 3/8" Scallop Circle Punch, cut out 5-6 circles from old dictionary.  Crumple and open.  Stack together and pierce hole through all layers.  Secure with a brad. 

For the background, cut Basic Black cardstock to 5 1/4 x 4, and spray with Silver Foil Smooth Spritz.  Allow to dry.  Then, use Kind Thoughts Brocade Decor Stencil and add Basic Black Classic Ink on top for added dimension.  Attach to standard size card (8 1/2 x 5 1/2 folded in half).  Add punched flower, tags, and ribbon to finish card.
Here's another one...


Happy Stamping!  Bye for now, Maria