Sunday, July 15, 2012

Saturday, July 14, 2012

June Stamp Club: Explosion Card

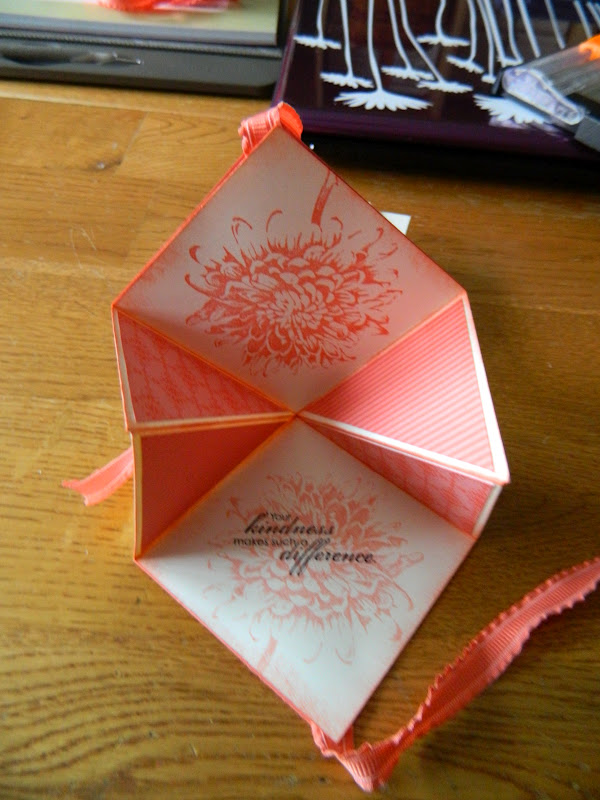
Since I enjoyed creating explosion cards so much (see previous post), I thought it would make a great stamp club project for June.  This version is much smaller, but just as wonderful!


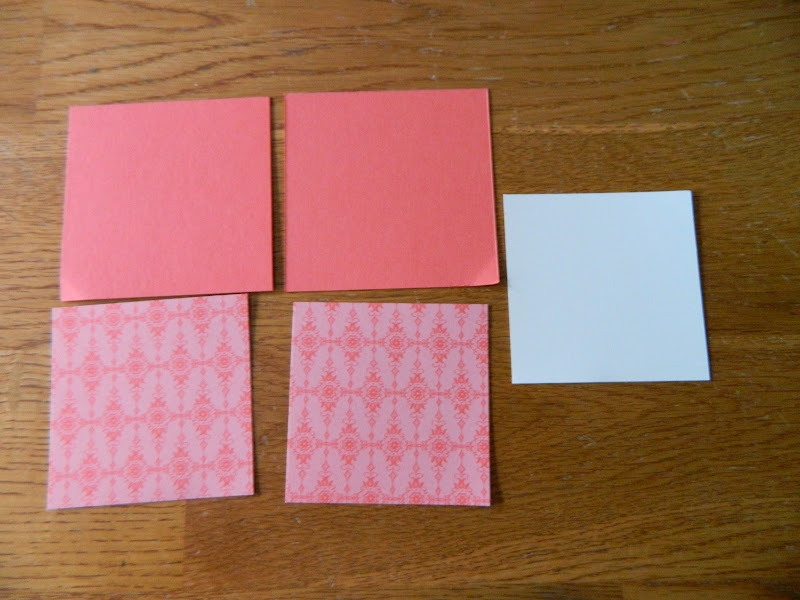
Start with a 6" square piece of cardstock. You can get four cards from a 12x12 piece of cardstock, but you probably already knew that!  Score it at 3" on both sides and diagonally just once.  The cover is made with two 3" squares of cardstock and one piece of 2 3/4" squared piece of Very Vanilla.  You will need two 2 3/4" square pieces of DSP cut in half on the diagonal to decorate the inside. 
   

Add DSP to the inside--alternate that pattern--show off that DSP!!!  Stamp, sponge and embellish as desired.  Fold up.  Attach ribbon with Sticky Strip.  Add covers.

Supplies used:  Very Vanilla cardstock, Calypso Coral Cardstock, ink, ruffled ribbon and DSP from the In Color DSP Stack, Chocolate Chip ink, Stampin' Sponge, Sticky Strip, and Blooming with Kindness Stamp set (this set  is sooooooo beautiful!!!).

Until next month, Maria

Friday, July 13, 2012

Exlposion Card Part Two

Explosion cards are so much fun (and easy too)!  This one is made with an entire sheet of DSP--it's square right?!  Same technique as in previous post....score at 6" on two sides, and once diagonally.  Crease folds.  Stamp and embellish. 


To cut your cardstock in half very easily, line up the points on your trimmer where it does the slicing.


To close this one, I used a "belly band" instead of ribbon.
A belly band is just a strip of cardstock that goes all the way around your card.
Simply slide the band off to open the card. 
Embellish the band with Blossom punches, buttons and baker's twine.


Happy Stamping!  Bye for now, Maria

Thursday, July 12, 2012

Explosion Card

Before we had websites and blogs, we had magazines and The Carol Duvall Show.  Do you remember her?  She is the queen of all things crafty and had a show on HGTV, which I used to watch over and over!  Loved that show!  I originally saw explosion cards on her show, at a Stampin' Up! Convention, and in magazines.  I put it on my list of things to stamp one day.  Recently, this little gem of a card popped up on my Pinterest feed.  Well, as my hubby would say, "you can't rush into these things." 

Here's my take on it...


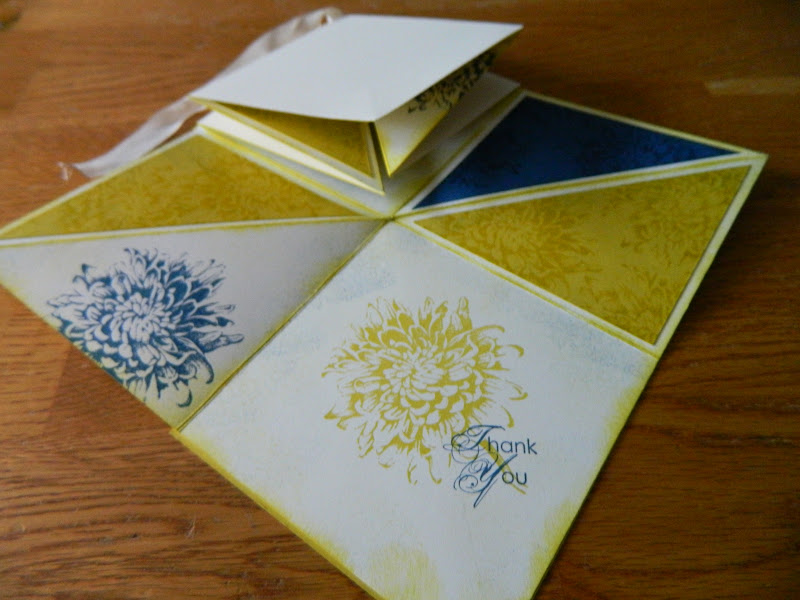
Start with a square piece of cardstock.  Any size of cardstock will do as long as it's square.  I started with an 8 1/2" square piece of Very Vanilla cardstock.  Scored at 4 1/4" on both sides and diagonally (just one diagonal).  Crease all your folds really good.  Stamp with Blooming with Kindness (love that stamp set!!!) stamp set, and embellish as desired.  Not sure if you can tell from my photo, but I sponged all over the place to add lots of dimension and texture without adding any bulk.  Make two and attach together with Sticky Strip.  Attach ribbon prior to attaching covers.  For the covers, you will need two pieces of cardstock 4 1/2 square, and one piece of Very Vanilla 4 1/4" square (stamped as desired).  I've opened and closed this one so much, I've worn holes in the corners, lol! 

Supplies:  Very Vanilla cardstock and seam binding ribbon, Summer Starfruit cardstock and ink, Midnight Muse cardstock and ink, Blooming with Kindness stamp set, Score Board with the Diagonal insert, Stampin' Sponges, Sticky Strip

Happy Creating!  Bye for now, Maria

Sunday, June 17, 2012

June Club Cards

Card swaps from June's Stamp Club.


Petite Purse Big Shot Die


Gift Card Holder


Until next month...happy stamping!  Bye for now, Maria

Monday, June 11, 2012

Gift Card Holder Photo Tutorial

June is full of graduations. Not including my own gradution, I had several to attend this month. Gift cards are the perfect gift...they are never the wrong color or size. We made a gift card holder for June's Stamp Club project.

Starting with your favorite cardstock or DSP (here I'm using First Edition) cut to 6 1/2 x 5 1/2.
On the 6 1/2 side, score at 1/2" and 3".


On the 5 1/2 side, score at 3".


Add Sticky Strip to the 1/2" flap.


Fold over and adhere.
Looks like a flattened tube.


Fold up on that 3" score line.
You should have 2 "pockets"--one for a piece of cardstock to add a sentiment
and one for the gift card.


This is a view of the "pockets" from the other direction.


Crease your folds.


Stamp as desired.  Here I'm using a butterfly from Papillon Potpourri in Gumball Green.


Stamp your cardstock insert (Very Vanilla 2 1/4 x3 3/4 ).
Stamp whatever greeting you desire, or write your own note to the recipient.


Add ribbon (Gumball Green 3/8" Stitched Satin Ribbon), cardstock insert and gift card.


Happy Stamping!  Bye for now, Maria